Table of Contents:
- Can I Use Olive Oil Instead of Vegetable Oil in Banana Bread?
- Introduction to Banana Bread and Baking Oils
- The Role of Oil in Banana Bread Recipes
- Why Oil Is Essential for Moisture and Texture
- Common Oils Used in Banana Bread
- Olive Oil vs. Vegetable Oil: Key Differences
- Flavor Profile Comparison
- Nutritional Differences
- Smoke Point and Heat Tolerance
- Benefits of Using Olive Oil in Banana Bread
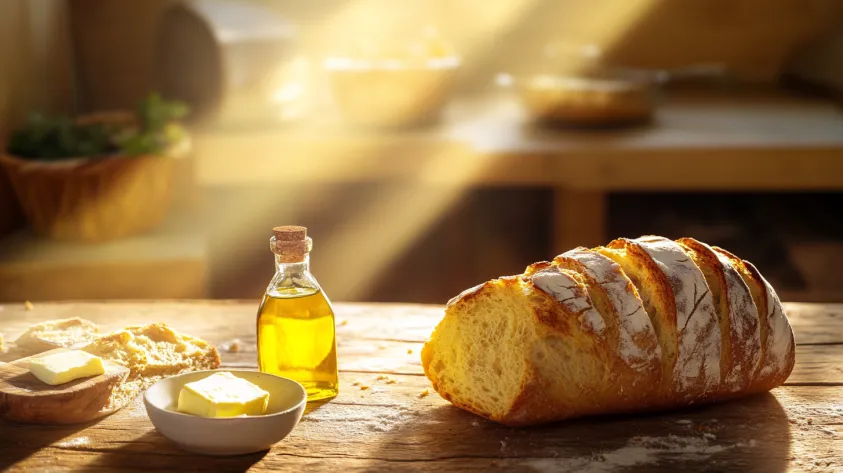
Yes, you absolutely can! But should you? That’s the real question. Substituting olive oil for vegetable oil in banana bread can change more than just the ingredients—it can change the flavor, texture, and even the aroma of your loaf. In this article, we’ll walk you through the pros and cons, explain how olive oil works differently than vegetable oil, and share tips to help you bake the best banana bread ever.
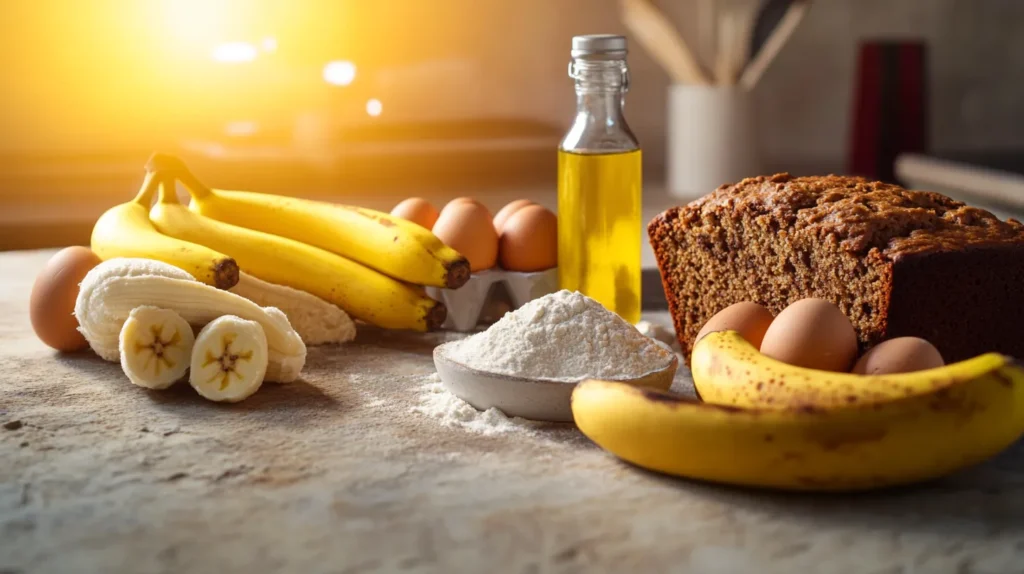
Introduction to Banana Bread and Baking Oils
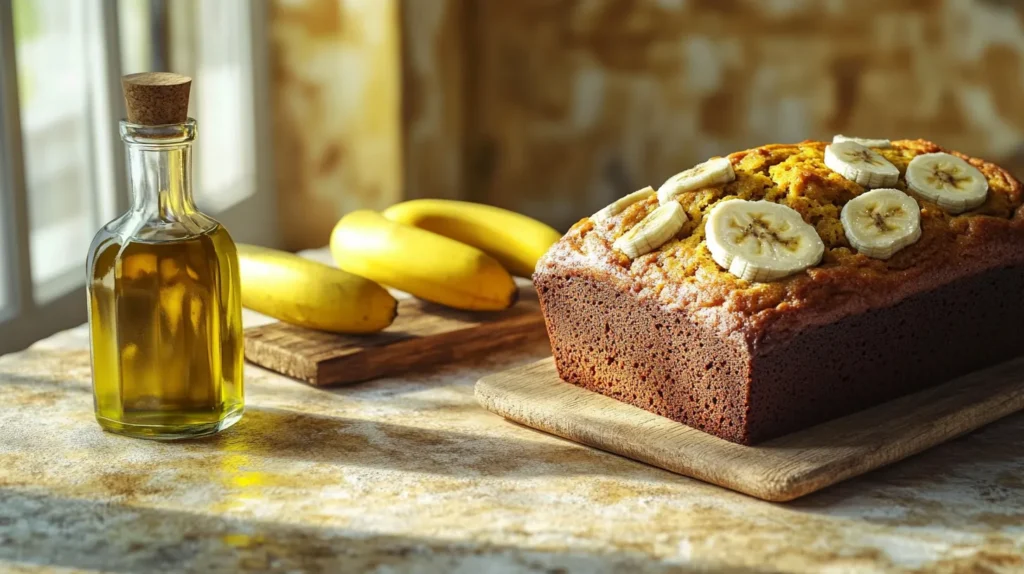
Banana bread is one of those recipes that feels like a warm hug. It’s simple, comforting, and perfect for using up those overripe bananas on your counter. Most banana bread recipes call for oil to make the loaf soft and moist. But does the type of oil matter? Absolutely! Choosing the right oil can make or break your banana bread.
For more on choosing the perfect ingredients for baked goods, check out Banana Bread Recipe Using Oil: A Complete Guide to Moist and Flavorful Loaf.
The Role of Oil in Banana Bread Recipes
To learn about why oil is often preferred over butter in baking, read Why Do You Put Oil Instead of Butter in Bread?.
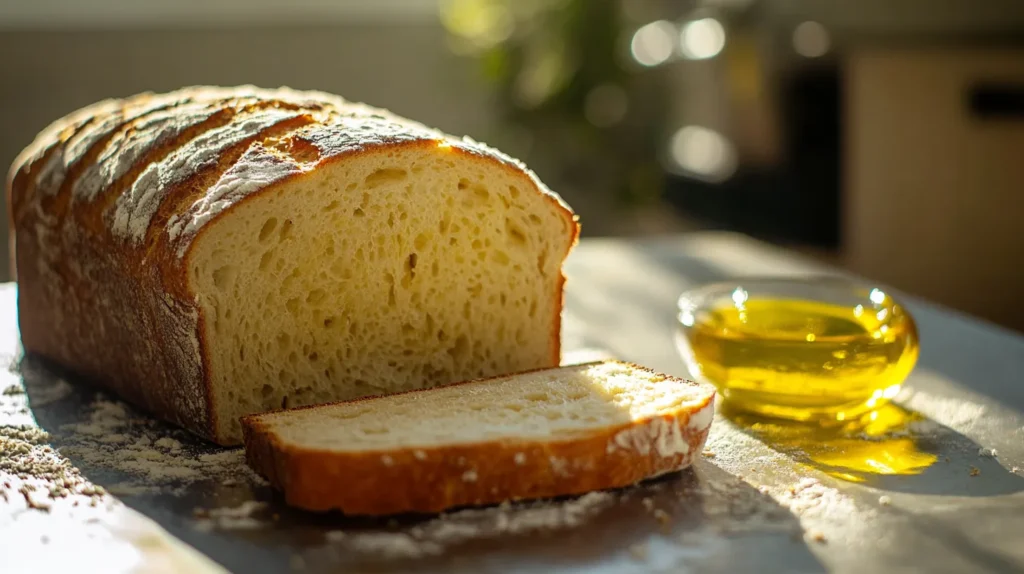
Why Oil Is Essential for Moisture and Texture
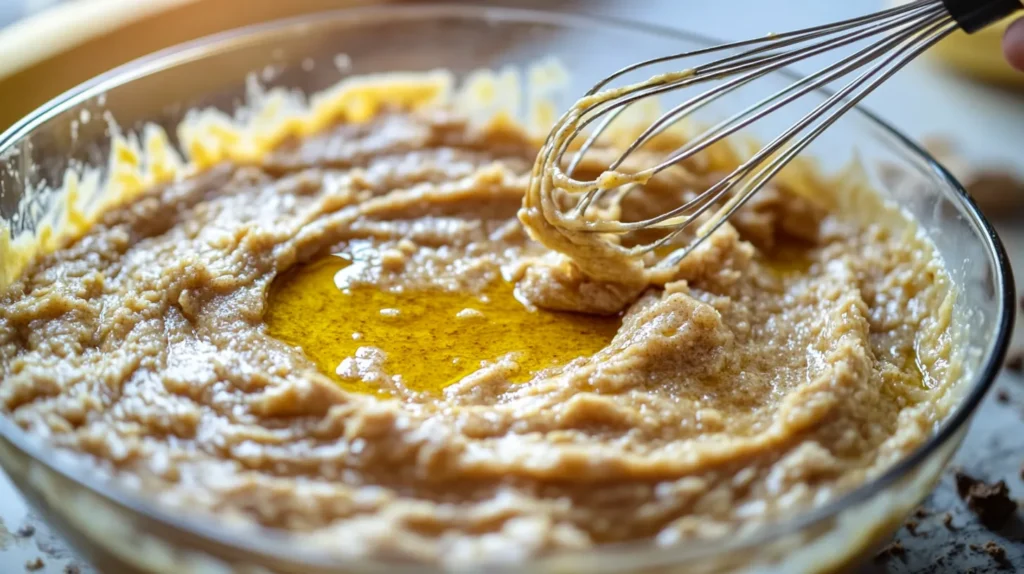
Oil is like the secret ingredient that keeps your banana bread tender and moist. Without it, the bread can turn out dry and crumbly. But why does oil work so well? Unlike butter, which has water content, oil is pure fat. This fat coats the flour proteins and prevents too much gluten from forming, resulting in a softer, more tender crumb.
Imagine biting into a piece of banana bread that melts in your mouth—it’s the oil that makes that possible. Whether you use vegetable oil, olive oil, or even coconut oil, you’re ensuring that your loaf stays delicious for days.
Common Oils Used in Banana Bread
Here are some of the most common oils you’ll find in banana bread recipes:
- Vegetable Oil: Neutral in flavor, affordable, and easy to find.
- Olive Oil: Rich in healthy fats with a slightly fruity taste.
- Coconut Oil: Adds a hint of sweetness and a mild tropical flavor.
Each oil has its pros and cons, but they all serve the same basic purpose—keeping your banana bread soft and flavorful.
Olive Oil vs. Vegetable Oil: Key Differences

So, what happens if you swap out vegetable oil for olive oil? Let’s break down the key differences.
Flavor Profile Comparison
One of the biggest differences between olive oil and vegetable oil is flavor. Vegetable oil has a neutral taste, which means it won’t affect the flavor of your banana bread. On the other hand, olive oil has a bold, fruity taste that can add a unique twist.
If you like experimenting with flavors, this can be a good thing. But if you’re aiming for classic, no-frills banana bread, the strong flavor of olive oil might be too overpowering.
Nutritional Differences
When it comes to health, olive oil is the clear winner. It’s packed with monounsaturated fats and antioxidants that are good for your heart. Vegetable oil, while still a source of healthy fats, tends to be more processed and lower in beneficial nutrients.
“Olive oil isn’t just an ingredient—it’s a superfood in disguise!”
If you’re trying to make healthier choices, olive oil is a fantastic option. Just remember that it can slightly alter the taste.
Smoke Point and Heat Tolerance
Another thing to consider is the smoke point of the oil you’re using. The smoke point is the temperature at which oil starts to break down and release a burnt, bitter taste.
- Vegetable Oil Smoke Point: Around 400-450°F (great for baking).
- Extra Virgin Olive Oil Smoke Point: Around 375°F (lower but still fine for most baking).
Since banana bread typically bakes at around 350°F, olive oil holds up just fine. But if your recipe involves higher temperatures or extra-long baking times, vegetable oil may be the safer choice.
Benefits of Using Olive Oil in Banana Bread
Why should you consider using olive oil in your banana bread? Let’s talk about the benefits.
Health Benefits of Olive Oil
Olive oil is packed with heart-healthy fats and antioxidants. It’s known to reduce inflammation, lower bad cholesterol, and even boost brain health. By swapping vegetable oil for olive oil, you’re making your banana bread a little healthier without sacrificing moisture.
Enhanced Flavor and Aroma
Olive oil can add a subtle, fruity aroma to your banana bread, making it smell amazing as it bakes. The flavor isn’t overpowering if you use the right type of olive oil (more on that later), but it adds a layer of complexity that vegetable oil just can’t match.
“Think of olive oil as the extra note that turns a good song into a hit.”
Longer Shelf Life for Baked Goods
Olive oil has natural antioxidants that help extend the shelf life of baked goods. This means your banana bread is likely to stay fresh and delicious for longer than if you used vegetable oil.
Potential Drawbacks of Using Olive Oil
While olive oil offers many benefits, it’s not perfect for every situation. Let’s look at some potential downsides so you can decide whether it’s the right choice for your banana bread.
Strong Flavor in Subtle Recipes
One of the most common complaints about using olive oil is its strong, distinctive taste. Extra virgin olive oil, in particular, has a bold, fruity, or peppery flavor. If you’re making banana bread with subtle flavors (like vanilla or cinnamon), the olive oil can overpower them.
However, this doesn’t mean you should avoid olive oil altogether. You can opt for light olive oil or pure olive oil, which have a milder taste than extra virgin varieties.
Cost Differences Compared to Vegetable Oil
Olive oil tends to be more expensive than vegetable oil. If you bake frequently and use olive oil in all your recipes, the cost can add up. That said, a little goes a long way, and the health benefits can be worth the extra expense.
“Think of olive oil as an investment in both flavor and your well-being—it’s like upgrading from regular to premium ingredients.”
How to Substitute Olive Oil for Vegetable Oil
If you’ve decided to try olive oil in your banana bread, you’ll need to know how to make the switch without throwing off the balance of your recipe.
Recommended Substitution Ratios
The good news? The substitution is straightforward. You can replace vegetable oil with olive oil at a 1:1 ratio. For example, if your recipe calls for ½ cup of vegetable oil, use ½ cup of olive oil instead.
However, if you’re worried about the flavor being too strong, you can start by using ¾ olive oil and ¼ neutral oil (like canola) until you find the right balance.
Tips for Balancing Flavor
If you love the idea of using olive oil but don’t want it to dominate the flavor, here are some tips:
- Add extra sweetness: A tablespoon of honey or maple syrup can help balance out the earthy notes of olive oil.
- Use flavorful add-ins: Chocolate chips, nuts, or shredded coconut can complement the olive oil and create a more complex flavor profile.
- Choose mild olive oil: Light or pure olive oil has a more subtle flavor than extra virgin olive oil.
Common Problems When Using Olive Oil in Banana Bread
Even with the right technique, you might run into a few hiccups when using olive oil. Here are some common issues and how to solve them.
Overpowering Olive Taste
If your banana bread tastes like olive oil and nothing else, the type of oil you used might be too strong. Extra virgin olive oil is great for savory dishes but can overwhelm sweet recipes.
Solution: Next time, try a lighter olive oil or reduce the amount slightly and replace the rest with a neutral oil like canola or grapeseed.
Dense or Heavy Texture
If your banana bread feels dense and heavy instead of light and fluffy, there could be too much oil or not enough leavening agent (like baking soda or baking powder).
Solution: Measure your ingredients carefully and don’t overmix the batter. Overmixing can lead to more gluten development, making the bread denser.
Undesirable Crust Color
Olive oil can cause the crust of your banana bread to brown faster due to its lower smoke point. If you’re noticing a darker crust or even slight burning, the oven temperature might be too high.
Solution: Lower the oven temperature by 10-15°F and keep an eye on your loaf in the last 10 minutes of baking. You can also tent the top of the bread with aluminum foil if it’s browning too quickly.
Solutions to Common Problems
If you encounter issues, don’t worry—there’s always a way to fix or improve your banana bread.
Choosing the Right Type of Olive Oil
Not all olive oils are created equal. If you’re aiming for a mild taste, go for “light” or “pure” olive oil. These varieties have a more neutral flavor compared to extra virgin olive oil.
Adjusting Sweetness and Flavoring
Since olive oil can add a savory note, you can balance it out by adjusting the sweetness. A touch of brown sugar, honey, or vanilla extract can enhance the overall flavor of your banana bread.
Combining Olive Oil with Other Ingredients
If you’re hesitant to use 100% olive oil, try blending it with another oil. For example, use half olive oil and half neutral oil. This way, you’ll still get the benefits of olive oil without overpowering the banana bread’s natural flavors.
“Baking is all about balance—small adjustments can turn a decent loaf into a masterpiece.”
Best Banana Bread Recipes Using Olive Oil
Ready to give olive oil a try? Here are some of the best banana bread recipes that use olive oil and show off its rich, delicious benefits.
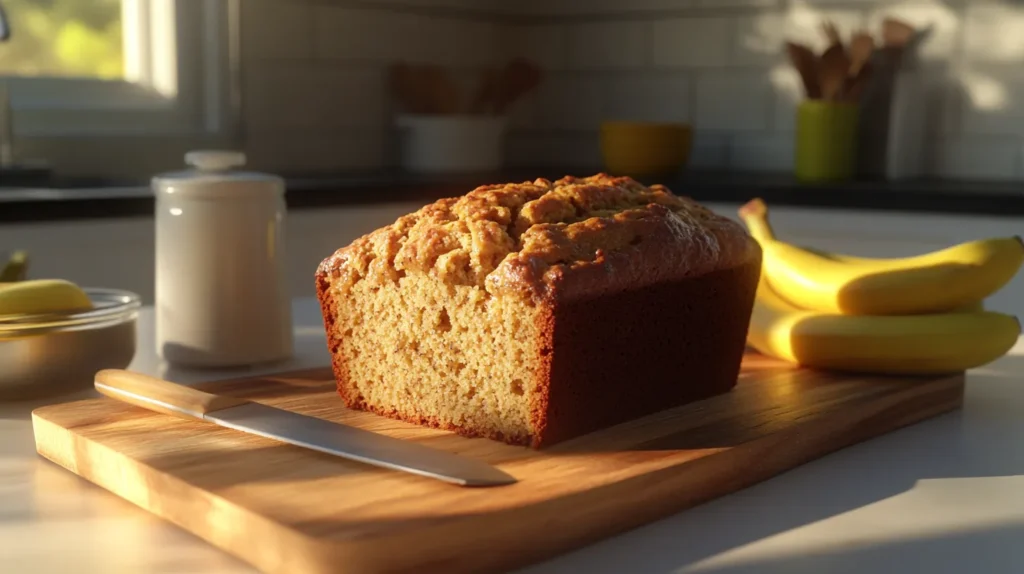
Classic Olive Oil Banana Bread
This recipe keeps things simple and lets the bananas and olive oil shine.
Ingredients:
- 3 ripe bananas (mashed)
- ½ cup olive oil (light or extra virgin)
- 2 eggs
- ½ cup brown sugar
- 1 ½ cups all-purpose flour
- 1 tsp baking soda
- ½ tsp salt
- 1 tsp vanilla extract
Instructions:
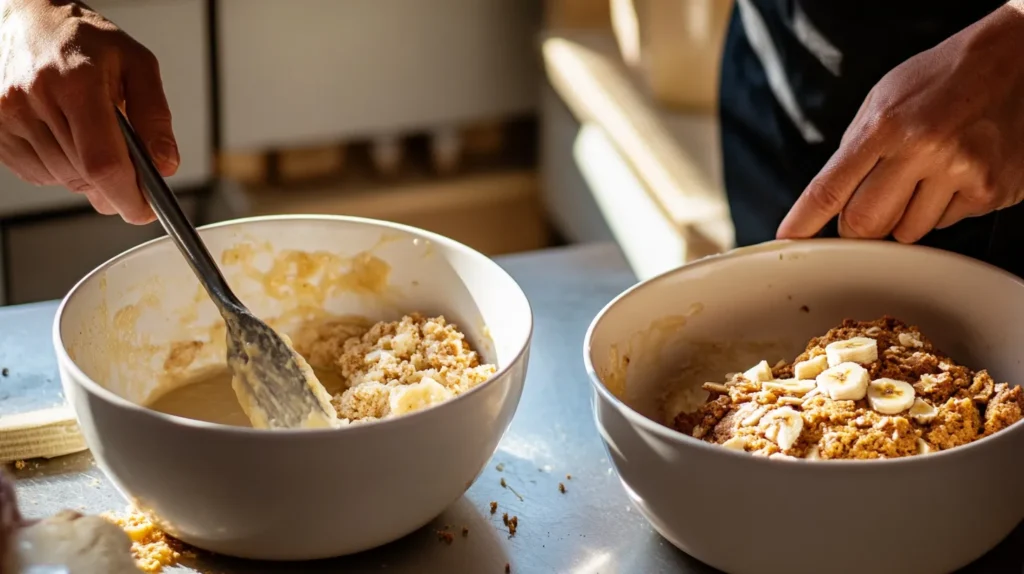
- Preheat your oven to 350°F (175°C) and grease a loaf pan.
- In a large bowl, mash the bananas until smooth.
- Whisk in the olive oil, eggs, sugar, and vanilla.
- In a separate bowl, mix the flour, baking soda, and salt.
- Gently fold the dry ingredients into the wet mixture—don’t overmix!
- Pour the batter into the prepared loaf pan and bake for 50–60 minutes or until a toothpick inserted in the center comes out clean.
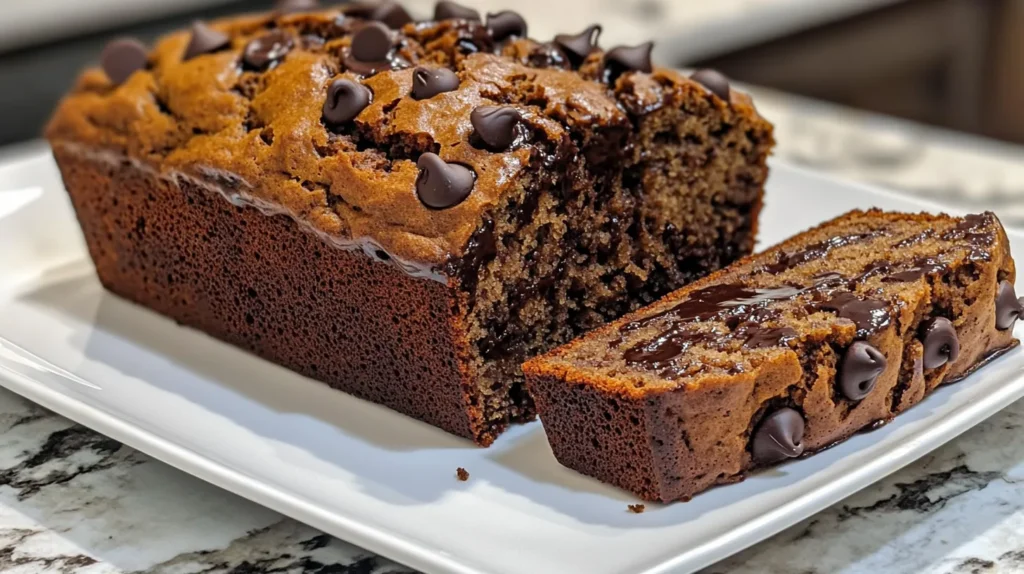
Chocolate Chip Banana Bread with Olive Oil
Adding chocolate chips takes your banana bread to the next level. The slight bitterness of the olive oil balances perfectly with the sweetness of the chocolate.
Extra Tip: You can swap chocolate chips for dark chocolate chunks if you want a richer taste.
Vegan Olive Oil Banana Bread
This recipe is perfect if you’re avoiding dairy or eggs.
Ingredients:
- 3 ripe bananas
- ½ cup olive oil
- ½ cup maple syrup or agave
- 1 tsp apple cider vinegar (helps with the rise)
- 2 cups flour (can be all-purpose or whole wheat)
- 1 tsp baking soda
- ½ tsp baking powder
- ½ tsp cinnamon (optional)
This vegan version has a slightly denser texture but is packed with flavor and perfect for breakfast or a guilt-free treat.
Expert Tips for Baking Banana Bread with Olive Oil
To ensure your olive oil banana bread turns out perfect every time, keep these expert tips in mind.
Temperature and Baking Time Adjustments
Olive oil can cause the bread to brown faster, so keep an eye on the baking time. If you notice the top browning too quickly, cover it with foil during the last 10 minutes of baking.
Mixing Techniques for Best Results
Avoid overmixing! Overmixing the batter activates the gluten in the flour, making your banana bread dense instead of soft. Mix until the ingredients are just combined—you don’t need a perfectly smooth batter.
Conclusion: Should You Use Olive Oil in Banana Bread?
So, can you use olive oil instead of vegetable oil in banana bread? Absolutely! Olive oil is a fantastic substitute that adds moisture, richness, and health benefits. It does come with a stronger flavor, but with the right techniques and adjustments, it can elevate your banana bread to something truly special.
If you prefer a neutral taste, start with light olive oil or a 50/50 blend of olive oil and vegetable oil. Once you find the combination you love, you might never go back to using vegetable oil!
FAQs About Substituting Olive Oil in Banana Bread
Can I Use Extra Virgin Olive Oil in Banana Bread?
Yes, but keep in mind that extra virgin olive oil has a stronger flavor. If you like the fruity, slightly peppery taste, go for it. Otherwise, opt for a lighter olive oil.
Does Olive Oil Affect the Texture of Banana Bread?
Yes, but in a good way! Olive oil adds more moisture than butter and keeps the bread soft for longer. Just make sure you measure it accurately to avoid a dense loaf.
What Is the Best Olive Oil for Baking Banana Bread?
Light olive oil is the best choice if you want a neutral taste. Extra virgin olive oil works well if you enjoy a richer, fruitier flavor.