Table of Contents:
- Introduction to King Salmon
1.1 What Makes King Salmon Unique?
1.2 Health Benefits of King Salmon - Choosing the Right King Salmon Cut
2.1 Fresh vs. Frozen King Salmon
2.2 Wild-Caught vs. Farmed Salmon: What You Need to Know
Introduction:
Ah, King Salmon! If you’ve been searching for the perfect King Salmon recipe, you’re in for a treat. This dish isn’t called “king” for nothing! Known for its rich flavor, tender texture, and versatility, King Salmon deserves a spot on your dinner table. Whether you’re trying a grilled King Salmon recipe or experimenting with baked and pan-seared versions, this guide has everything you need to make every bite unforgettable. Plus, you’ll discover pairing ideas, pro tips, and the answers to your burning questions, all while mastering the ultimate King Salmon recipe that your family and friends will love.
For more meal inspiration, you may also want to explore our Salmon Rice Bowl Recipe to pair with your King Salmon dish.
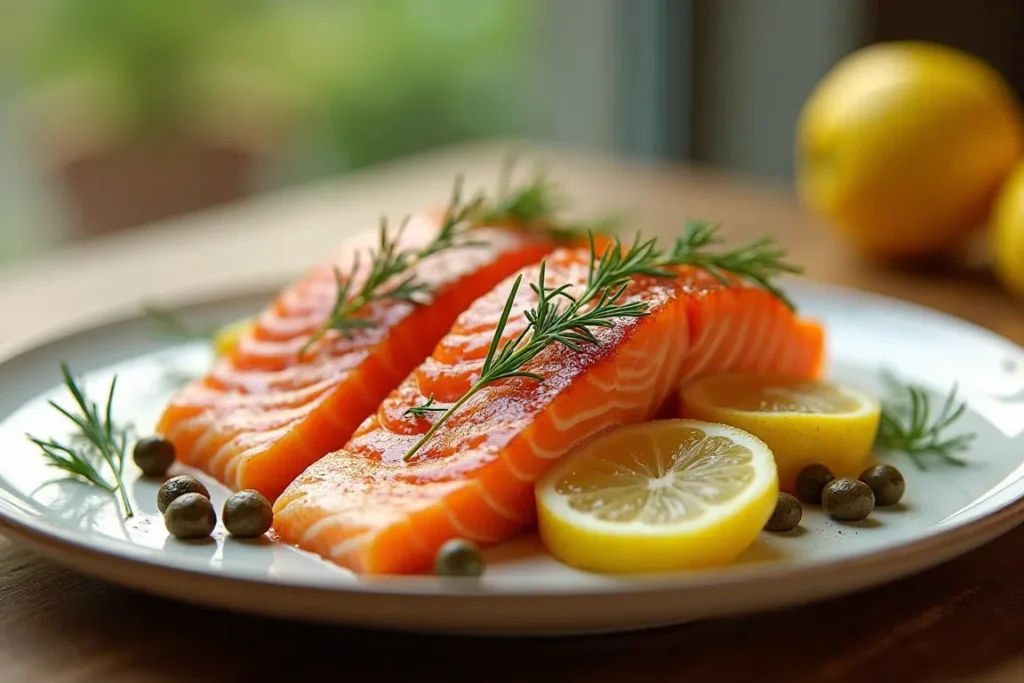
What Makes King Salmon Unique?
Let’s start with what sets this fish apart. King Salmon, also called Chinook Salmon, is the largest of all Pacific salmon species. It’s packed with Omega-3 fatty acids, giving it a buttery taste that melts in your mouth. Unlike other fish, it’s forgiving to cook—meaning even if you’re a bit clumsy in the kitchen, you’ll still end up with a delicious dish.
If you’re exploring salmon varieties, you may also want to check out our Coho Salmon Recipe: A Complete Guide to Cooking.
“Cooking King Salmon is like painting—there’s room for creativity, but the quality of your canvas matters too.”
Its deep orange color makes it look as good as it tastes. Plus, it holds up well to a variety of cooking methods, from grilling to baking, making it a favorite for food enthusiasts worldwide.
Health Benefits of King Salmon
Here’s a little secret: King Salmon isn’t just delicious—it’s a powerhouse of nutrition. It’s high in protein, rich in Omega-3s (great for heart and brain health), and packed with vitamins like B12 and D. This fish is your ticket to eating indulgently while staying healthy. Who doesn’t want that?
If you’re interested in maximizing your nutrition, take a look at our guide on How Long Should You Brine Salmon For to ensure flavorful and nutritious results.
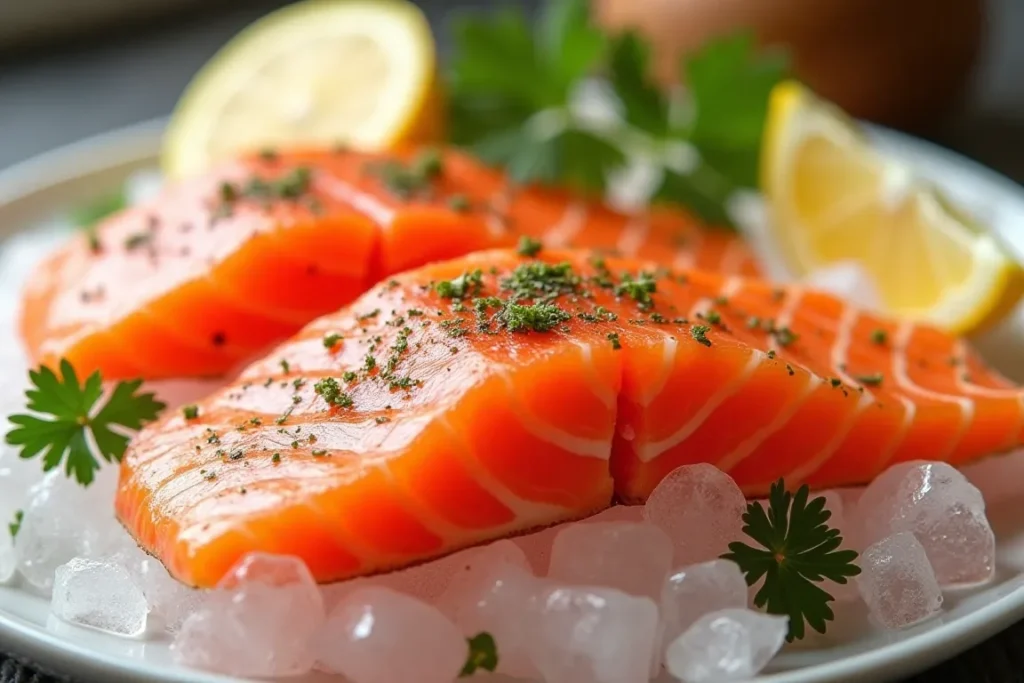
Choosing the Right King Salmon Cut
Before you even think about cooking, you’ve got to pick the right cut. Believe it or not, this step can make or break your recipe. Let’s dive into the details.
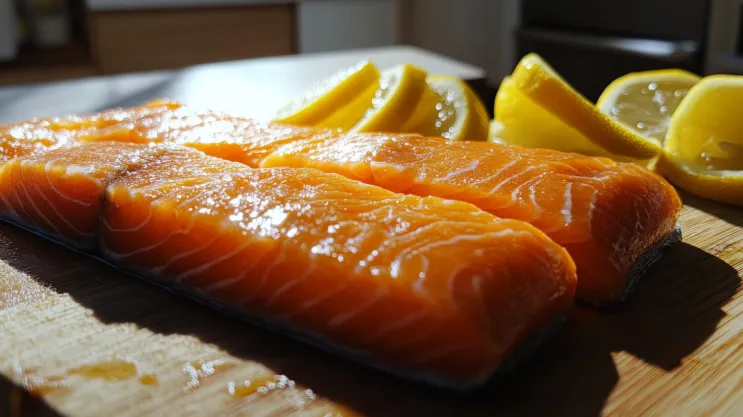
Fresh vs. Frozen King Salmon

Is fresh always better? Not necessarily. While fresh King Salmon offers unbeatable flavor, frozen varieties are flash-frozen at peak freshness, locking in nutrients and taste. The trick is to look for vacuum-sealed packages with minimal frost. A good frozen salmon can rival a fresh one any day.
Wild-Caught vs. Farmed Salmon: What You Need to Know
Here’s a hot debate: wild-caught or farmed? Wild King Salmon boasts a robust flavor and firmer texture, but it’s often pricier. Farmed salmon, on the other hand, is more affordable and available year-round. If sustainability matters to you, opt for wild-caught—it’s better for the environment and your plate.
“Think of wild King Salmon as a rare vintage wine—worth the splurge for special occasions.”
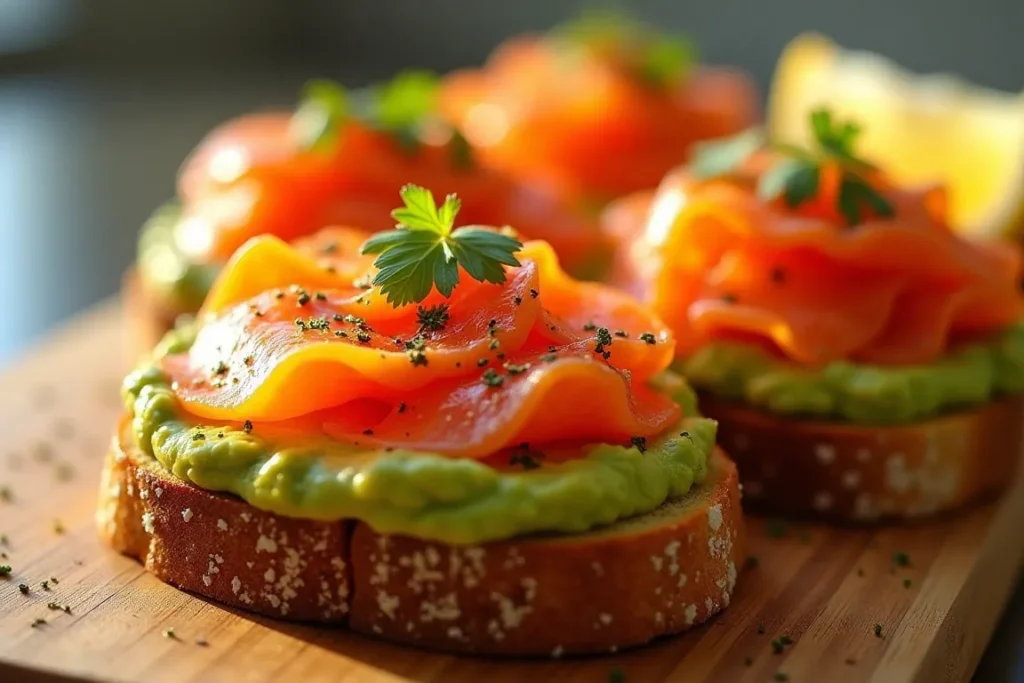
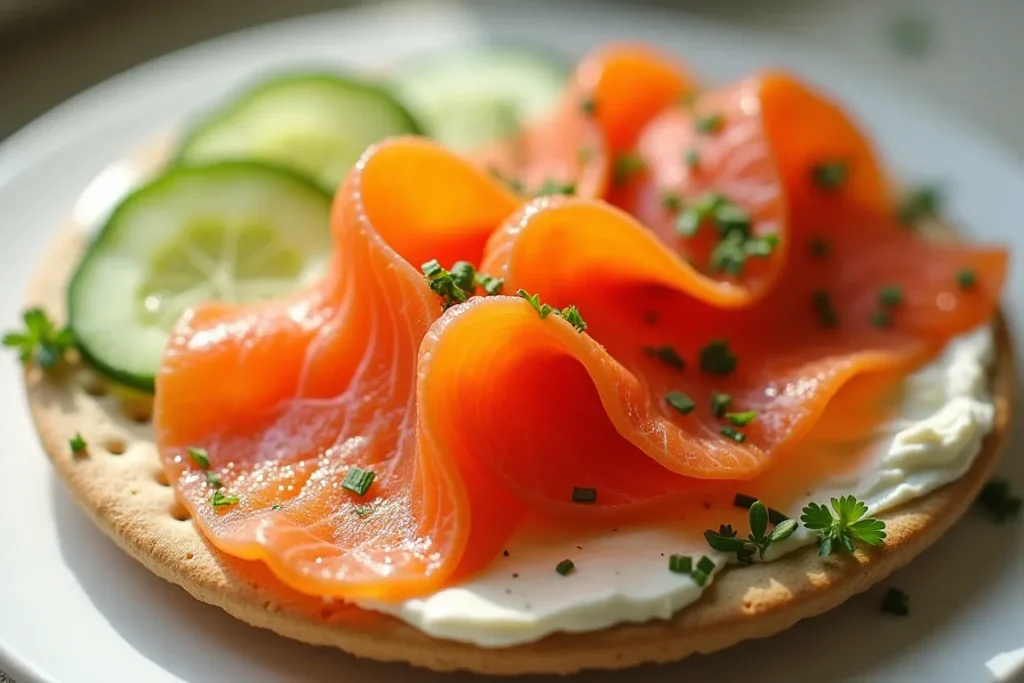
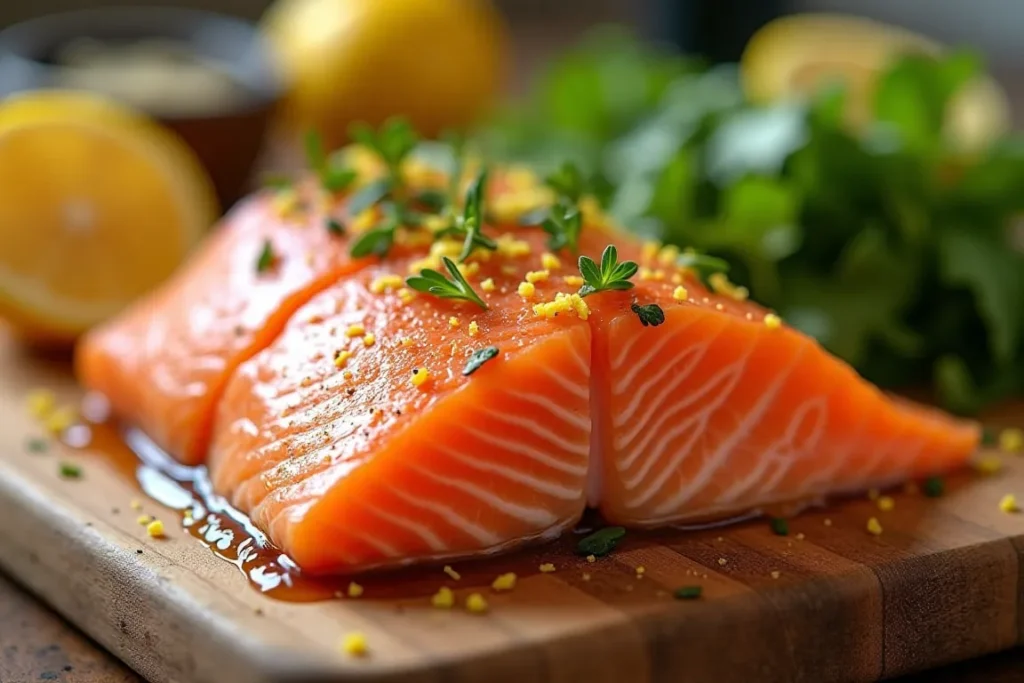
Essential Ingredients for a Delicious King Salmon Recipe
For any King Salmon recipe to shine, you need a few key ingredients that elevate the dish.. When it comes to King Salmon, you don’t need much—this fish can shine with minimal effort. But adding a few complementary ingredients can elevate it from good to unforgettable.
Fresh Herbs and Seasonings
First things first—herbs! Dill, parsley, and chives are perfect partners for King Salmon. These herbs add a pop of freshness that enhances the rich, buttery taste of the fish.
As for seasonings, keep it simple:
- Salt and freshly cracked black pepper go a long way.
- A pinch of paprika or chili flakes can bring just the right amount of heat if you’re feeling adventurous.
The best part? You can experiment without going overboard.
Ideal Marinades for King Salmon
Marinades can transform your King Salmon into something magical. Here are some of the best options:
- Lemon-Garlic Marinade: A classic combo! Mix olive oil, minced garlic, fresh lemon juice, and a touch of honey.
- Soy Ginger Marinade: Soy sauce, grated ginger, garlic, and a splash of sesame oil for an Asian-inspired twist.
- Maple-Mustard Marinade: A sweet and tangy blend of maple syrup and Dijon mustard that pairs beautifully with salmon.
“Marinades are like a wardrobe for your salmon—each one gives it a whole new vibe.”
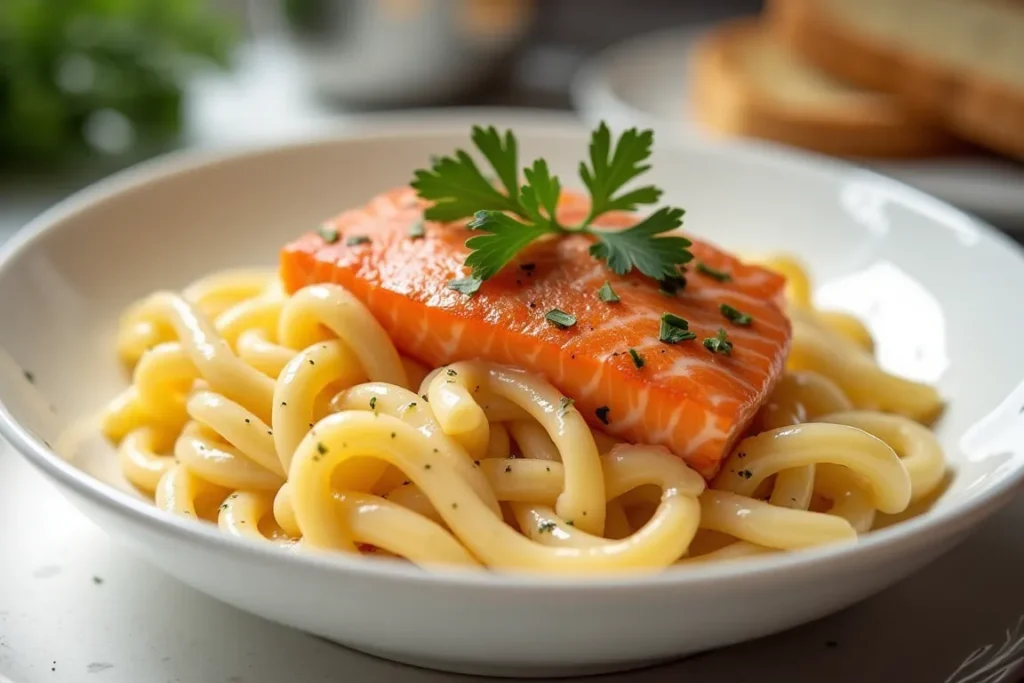
Top Sides to Pair with King Salmon
What’s salmon without the perfect sides? Here are some crowd-pleasers that pair perfectly with this dish:
- Garlic Mashed Potatoes: Creamy, rich, and comforting.
- Roasted Asparagus: A simple side that balances the richness of salmon.
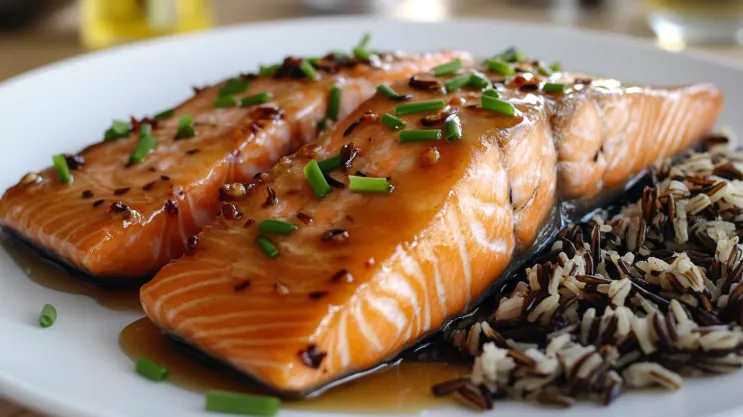
- Wild Rice: Nutty and hearty, wild rice brings out the earthy flavors in the fish.
- Quinoa Salad with Lemon Vinaigrette: Light, zesty, and refreshing—a great contrast to the buttery salmon.
Step-by-Step Guide: Cooking King Salmon Perfectly
Cooking King Salmon doesn’t have to be intimidating. With this simple step-by-step guide, you’ll nail it every time!
Preparing the Salmon (Cleaning & Deboning)
Before you cook, make sure your salmon is prepped. If you bought a whole fillet, check for pin bones—those sneaky little bones that can ruin your bite. Here’s how to remove them:
- Run your fingers gently along the fillet to feel for any bones.
- Use tweezers or a pair of fish pliers to pull them out at an angle.
Pro Tip: Rinse the salmon briefly under cold water and pat it dry with a paper towel. This ensures a crispy exterior if you’re pan-searing.
Cooking Methods: A Breakdown
Now that your fish is ready, let’s talk about cooking methods. There are plenty of ways to cook King Salmon, so choose the one that suits your taste and mood.
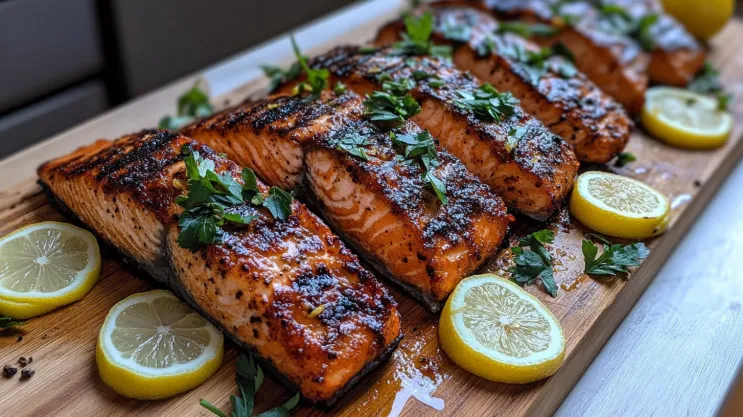
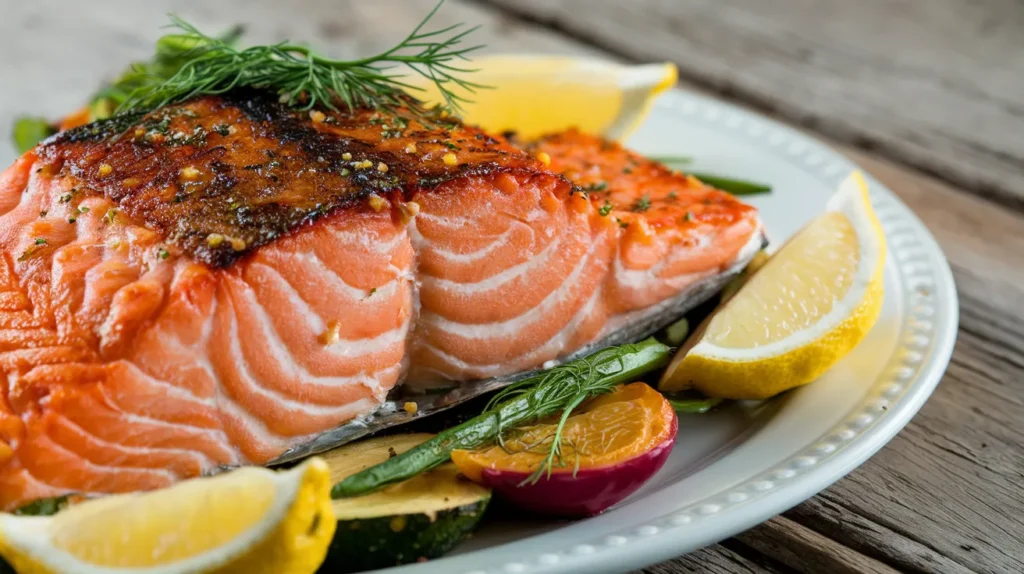
Grilling King Salmon
Grilled salmon has a smoky, charred flavor that’s hard to beat.
- Prep: Brush the fillet with olive oil and season with salt and pepper.
- Cook Time: 4–5 minutes per side over medium-high heat.
- Pro Tip: Use a grill basket to prevent the fish from sticking.
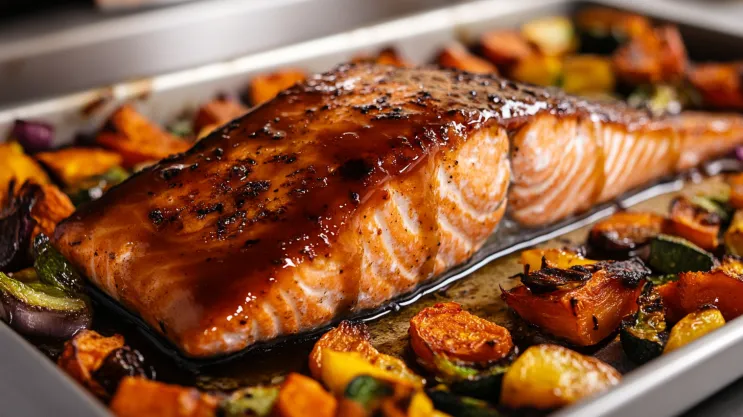
Baking King Salmon
Baked salmon is a hands-off option that’s perfect for busy nights.
- Prep: Place the fillet on parchment paper and drizzle with your favorite marinade.
- Cook Time: 12–15 minutes at 375°F (190°C).
- Pro Tip: Add lemon slices on top for extra moisture and aroma.
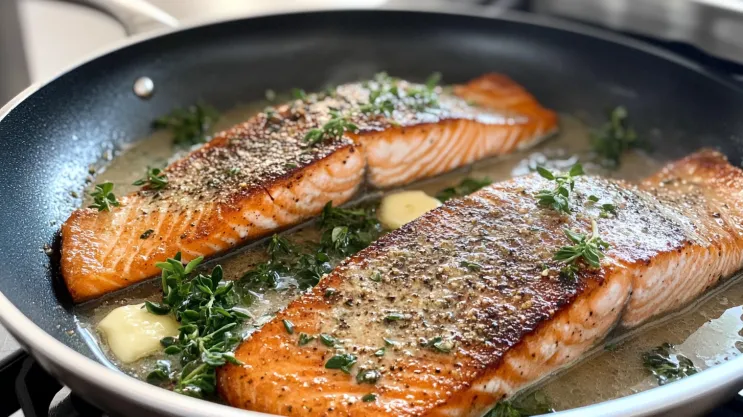
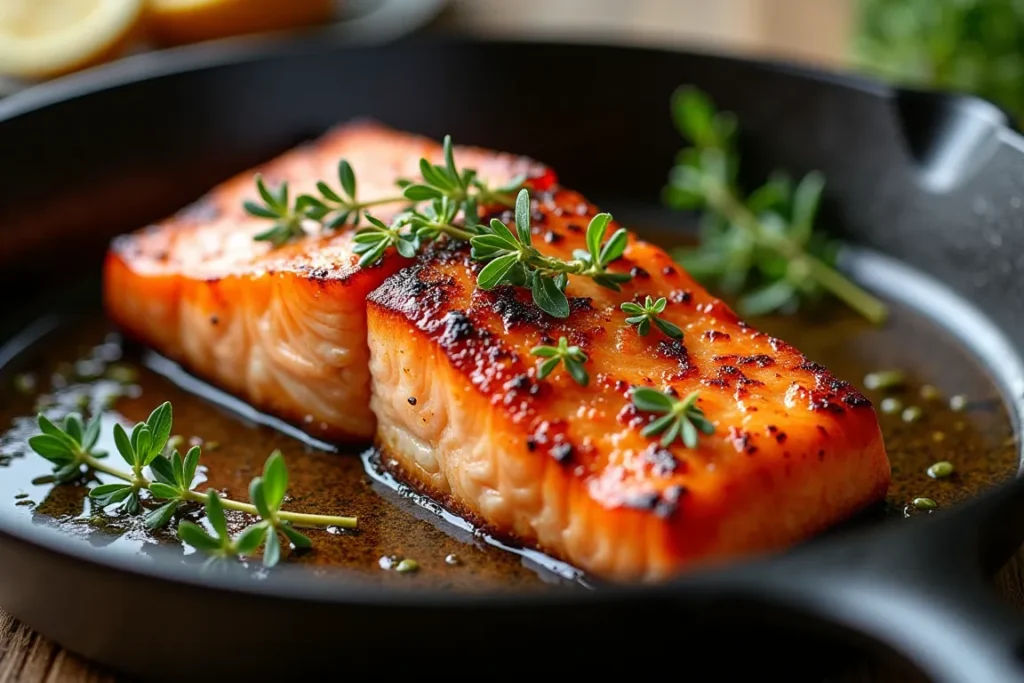
Pan-Searing King Salmon
This method gives you a crispy skin and a tender, flaky interior.
- Prep: Heat a tablespoon of oil in a pan until it’s shimmering. Place the salmon skin-side down.
- Cook Time: 3–4 minutes on one side, then 2–3 minutes on the other.
- Pro Tip: Don’t flip too early! Let the skin crisp up before turning.
Poaching King Salmon
Poaching is the gentlest way to cook salmon, giving you a moist, delicate fillet.
- Prep: Bring a pot of broth or water (seasoned with lemon, herbs, and salt) to a simmer.
- Cook Time: 8–10 minutes, depending on the thickness of the fillet.
- Pro Tip: Avoid boiling—it can make the fish tough.
Recommended Internal Temperature for King Salmon
Wondering how to tell if your salmon is cooked? The internal temperature should reach 125°F (52°C) for medium-rare or 130°F (54°C) for a firmer texture.
How to Avoid Overcooking or Undercooking Salmon
One of the most common issues with salmon is overcooking. Here are a few simple tips to avoid it:
- Set a timer and check your fish early.
- Remember that salmon continues to cook after you remove it from the heat.
- Use a meat thermometer for accuracy—it’s your best friend!
Common Mistakes When Cooking King Salmon (And How to Fix Them)
No one likes kitchen mishaps, especially when cooking something as special as King Salmon. Here are some common mistakes people make—and how you can avoid them.
Overmarinating the Fish
While marinating adds flavor, overdoing it can break down the delicate texture of King Salmon. Acidic ingredients like lemon juice and vinegar can “cook” the fish if left too long.
Solution: Marinate for no longer than 30 minutes when using acidic marinades. If you need to prep in advance, stick to oil-based marinades with herbs and spices.
Using Too Much Heat Too Quickly
Cranking up the heat might seem like a good idea if you’re in a rush, but it can cause the outside to burn while the inside stays raw.
Solution: Use medium-high heat for grilling or pan-searing and moderate oven temperatures when baking. Slow and steady wins the race with King Salmon.
Neglecting to Rest the Fish After Cooking
Just like steak, salmon needs a minute to “relax” after cooking. If you cut into it too soon, you’ll lose those flavorful juices.
Solution: Let your salmon rest for 2–3 minutes after removing it from the heat. Trust me, it’s worth the wait.
King Salmon Recipes for Every Occasion
Looking for specific recipes? Here are some delicious ways to cook King Salmon, whether it’s a casual weeknight dinner or a fancy celebration.
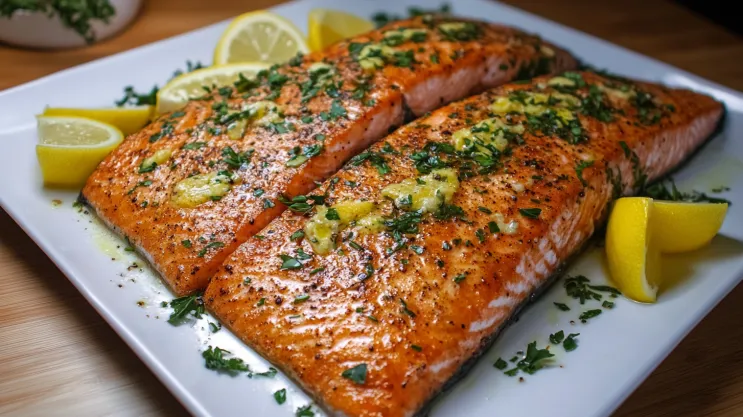
Simple Lemon-Butter King Salmon Recipe
Ingredients:
- 2 King Salmon fillets
- 2 tablespoons unsalted butter
- 1 lemon (sliced)
- 2 cloves garlic (minced)
- Salt and pepper to taste
Instructions:
- Preheat your oven to 375°F (190°C).
- Place the salmon fillets on a baking tray lined with parchment paper.
- Top each fillet with a tablespoon of butter, garlic, and lemon slices.
- Season with salt and pepper.
- Bake for 12–15 minutes or until flaky.
This recipe is comfort food at its finest—simple but bursting with flavor.
Teriyaki-Glazed King Salmon
For a sweet-savory option, this recipe is a crowd favorite.
Ingredients:
- 4 King Salmon fillets
- 1/4 cup soy sauce
- 2 tablespoons brown sugar
- 1 tablespoon honey
- 1 teaspoon grated ginger
- 2 teaspoons sesame seeds
Instructions:
- Mix soy sauce, brown sugar, honey, and ginger in a bowl.
- Marinate the salmon fillets in the sauce for 15 minutes.
- Heat a skillet and sear the salmon for 3–4 minutes per side.
- Sprinkle sesame seeds on top before serving.
Honey Garlic King Salmon
Love sweet and savory? This recipe is for you. The caramelized honey and garlic sauce is irresistible!
How to Store and Reheat Leftover King Salmon
If you have leftovers (lucky you!), here’s how to store and reheat them without losing flavor.
Best Storage Practices
- Refrigerate: Store leftover salmon in an airtight container in the fridge for up to 3 days.
- Freeze: You can freeze cooked salmon for up to 2 months. Make sure it’s wrapped tightly in plastic wrap or a freezer-safe bag to avoid freezer burn.
How to Reheat Without Drying the Salmon
Reheating salmon can be tricky—it’s easy to dry it out.
Best method:
- Place the salmon in a baking dish and cover it with foil.
- Warm it in the oven at 275°F (135°C) for 10–15 minutes until heated through.
For a quicker option, microwave it on low power in short intervals.
Nutritional Information: What’s in Your King Salmon Meal?
Ever wondered what’s in that delicious piece of fish?
Calorie Breakdown
A 6-ounce serving of King Salmon has approximately:
- 350–400 calories
- 35 grams of protein
- 20 grams of healthy fats
Protein, Omega-3s, and Other Nutrients
- Omega-3 Fatty Acids: Great for your heart and brain.
- Vitamin D: Supports strong bones and immune function.
- B Vitamins: Essential for energy production and overall health.
Frequently Asked Questions About King Salmon Recipes
How Long Should You Marinate King Salmon?
For acidic marinades, stick to 20–30 minutes max. Oil-based marinades can sit for up to an hour.
What Can I Use Instead of Lemon?
No lemons? No problem! Try lime, orange, or even apple cider vinegar for a similar tangy kick.
How Do I Know When King Salmon Is Done?
The best way is to check the internal temperature. Aim for 125°F (52°C) for medium-rare. The fish should flake easily but still be moist.
Conclusion: Mastering Your King Salmon Dish
By now, you’re ready to master the art of cooking King Salmon! Whether you’re baking, grilling, or pan-searing, this guide has all the tips and recipes you need to create something unforgettable. The key is to keep it simple, use fresh ingredients, and enjoy the process. Remember—cooking isn’t just about the food; it’s about the memories you make along the way.
Now it’s your turn—fire up that grill, preheat that oven, and get cooking! You’ve got this!